Egress Servers
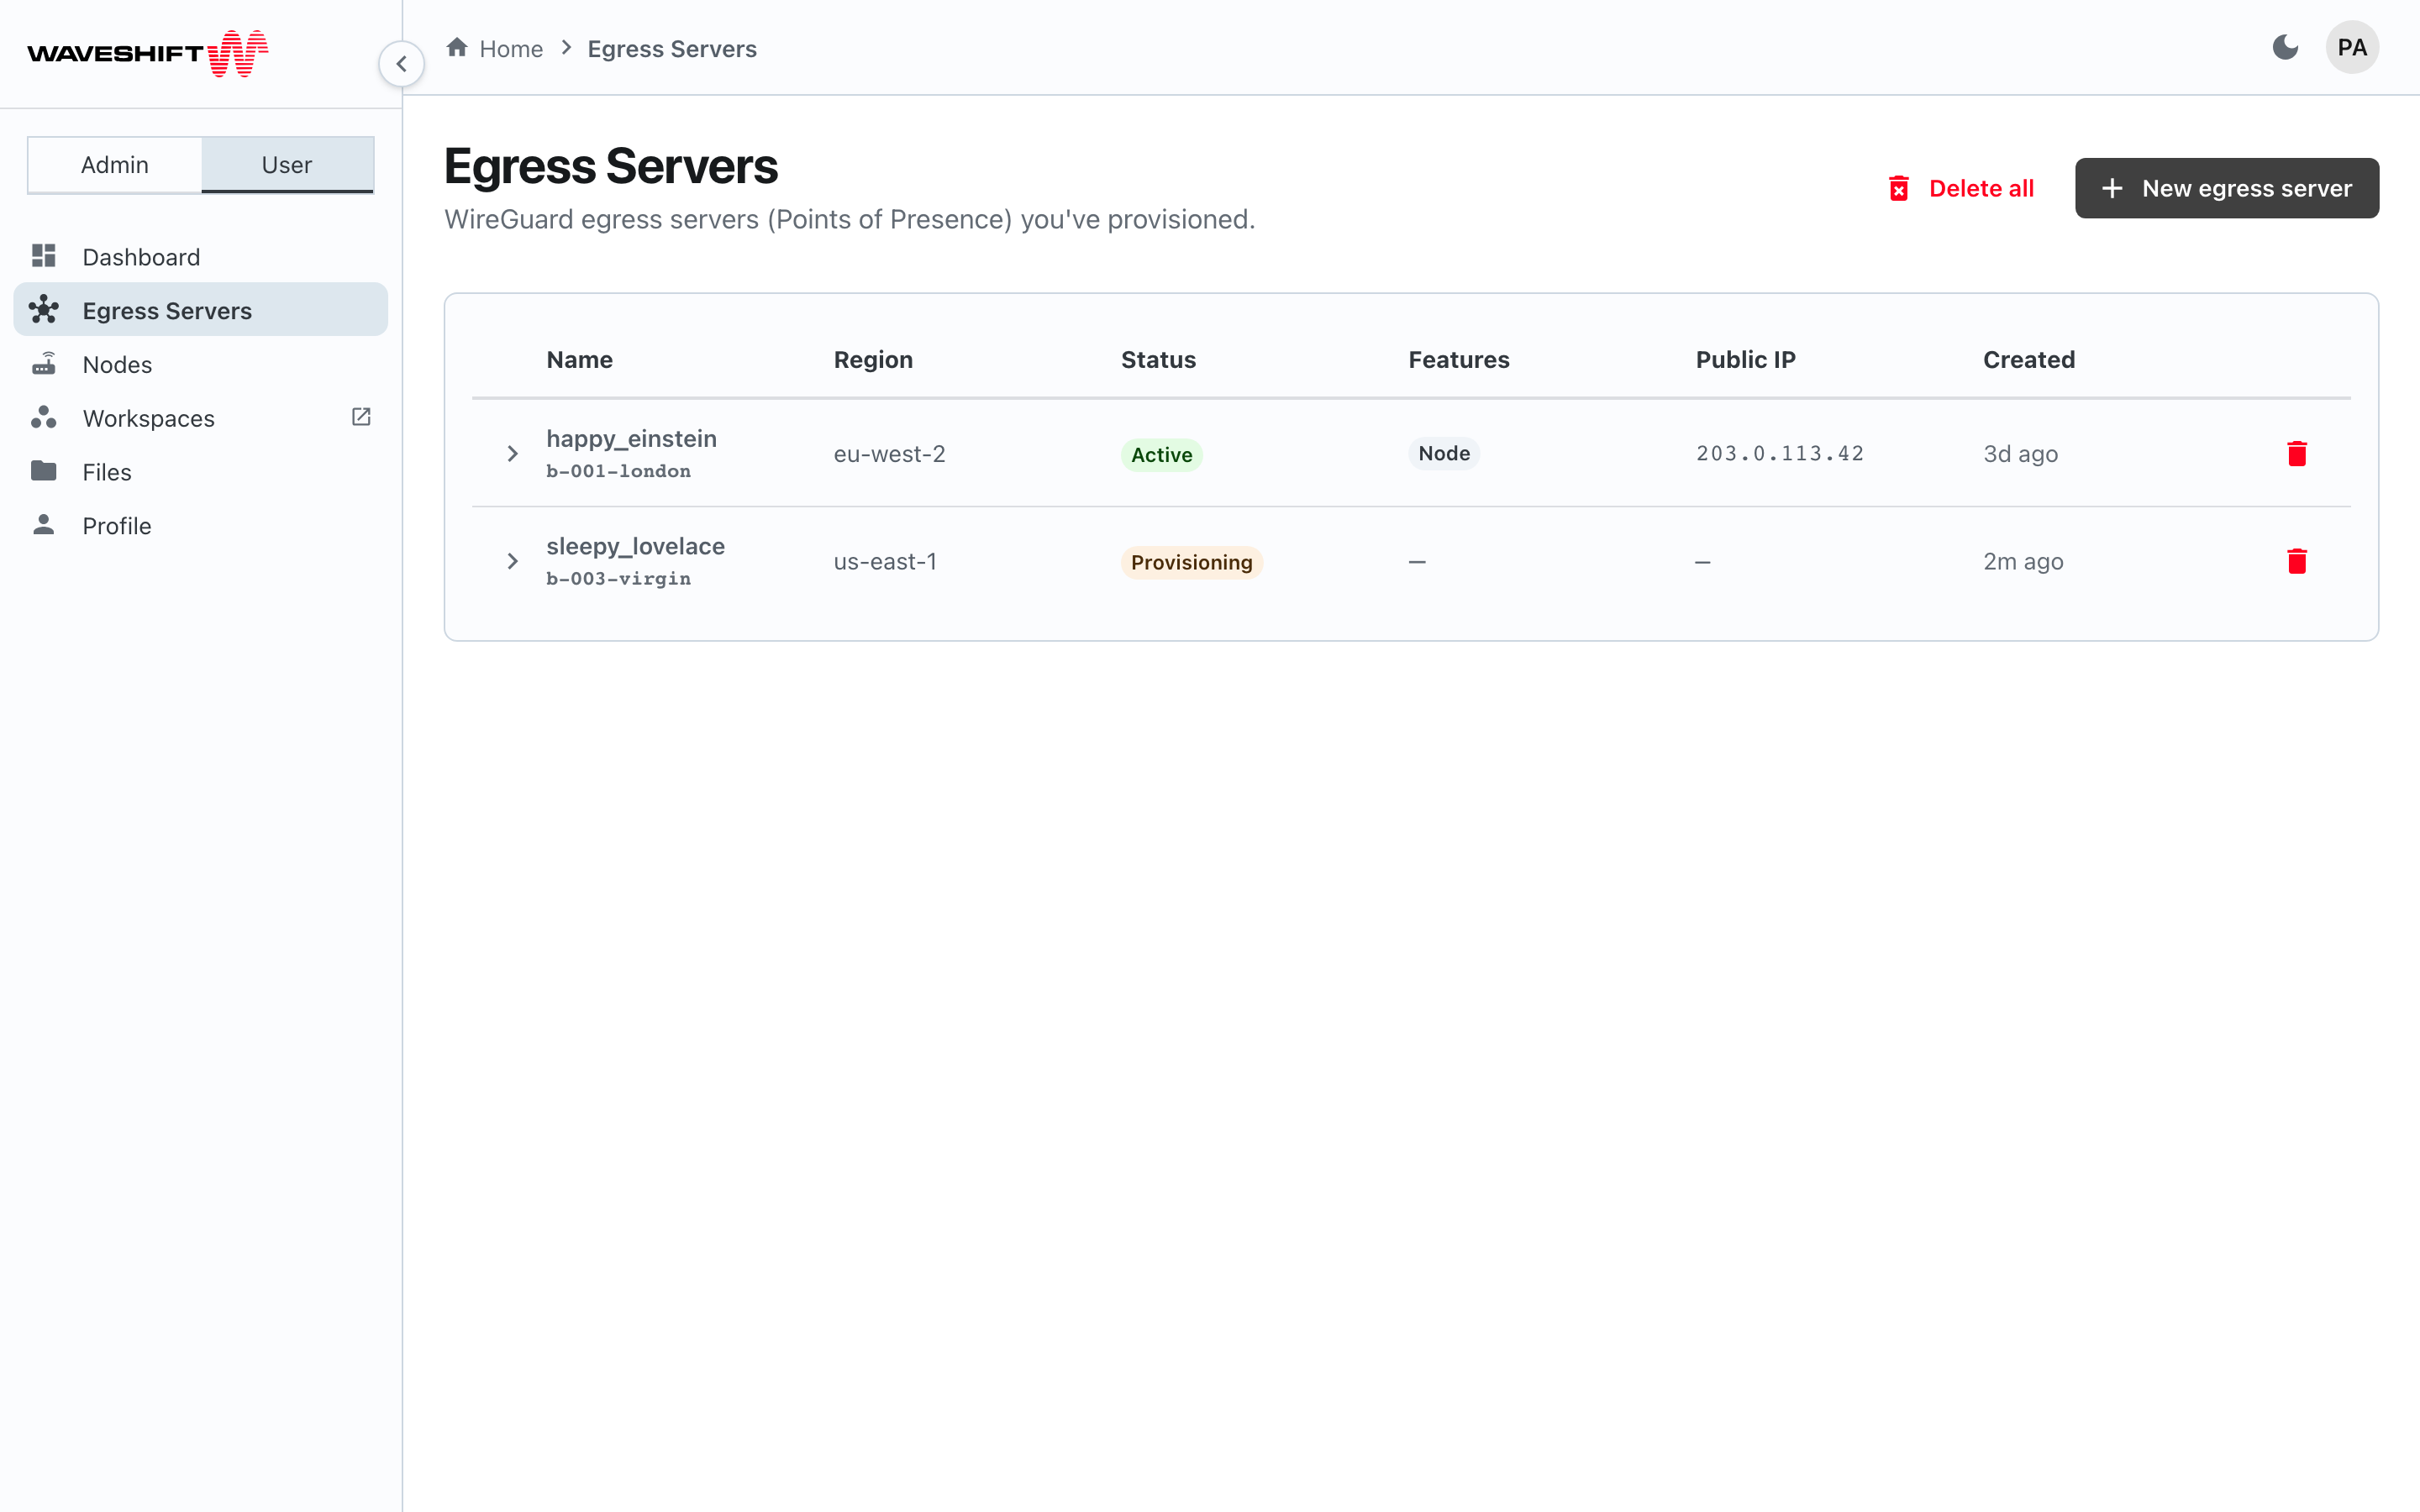
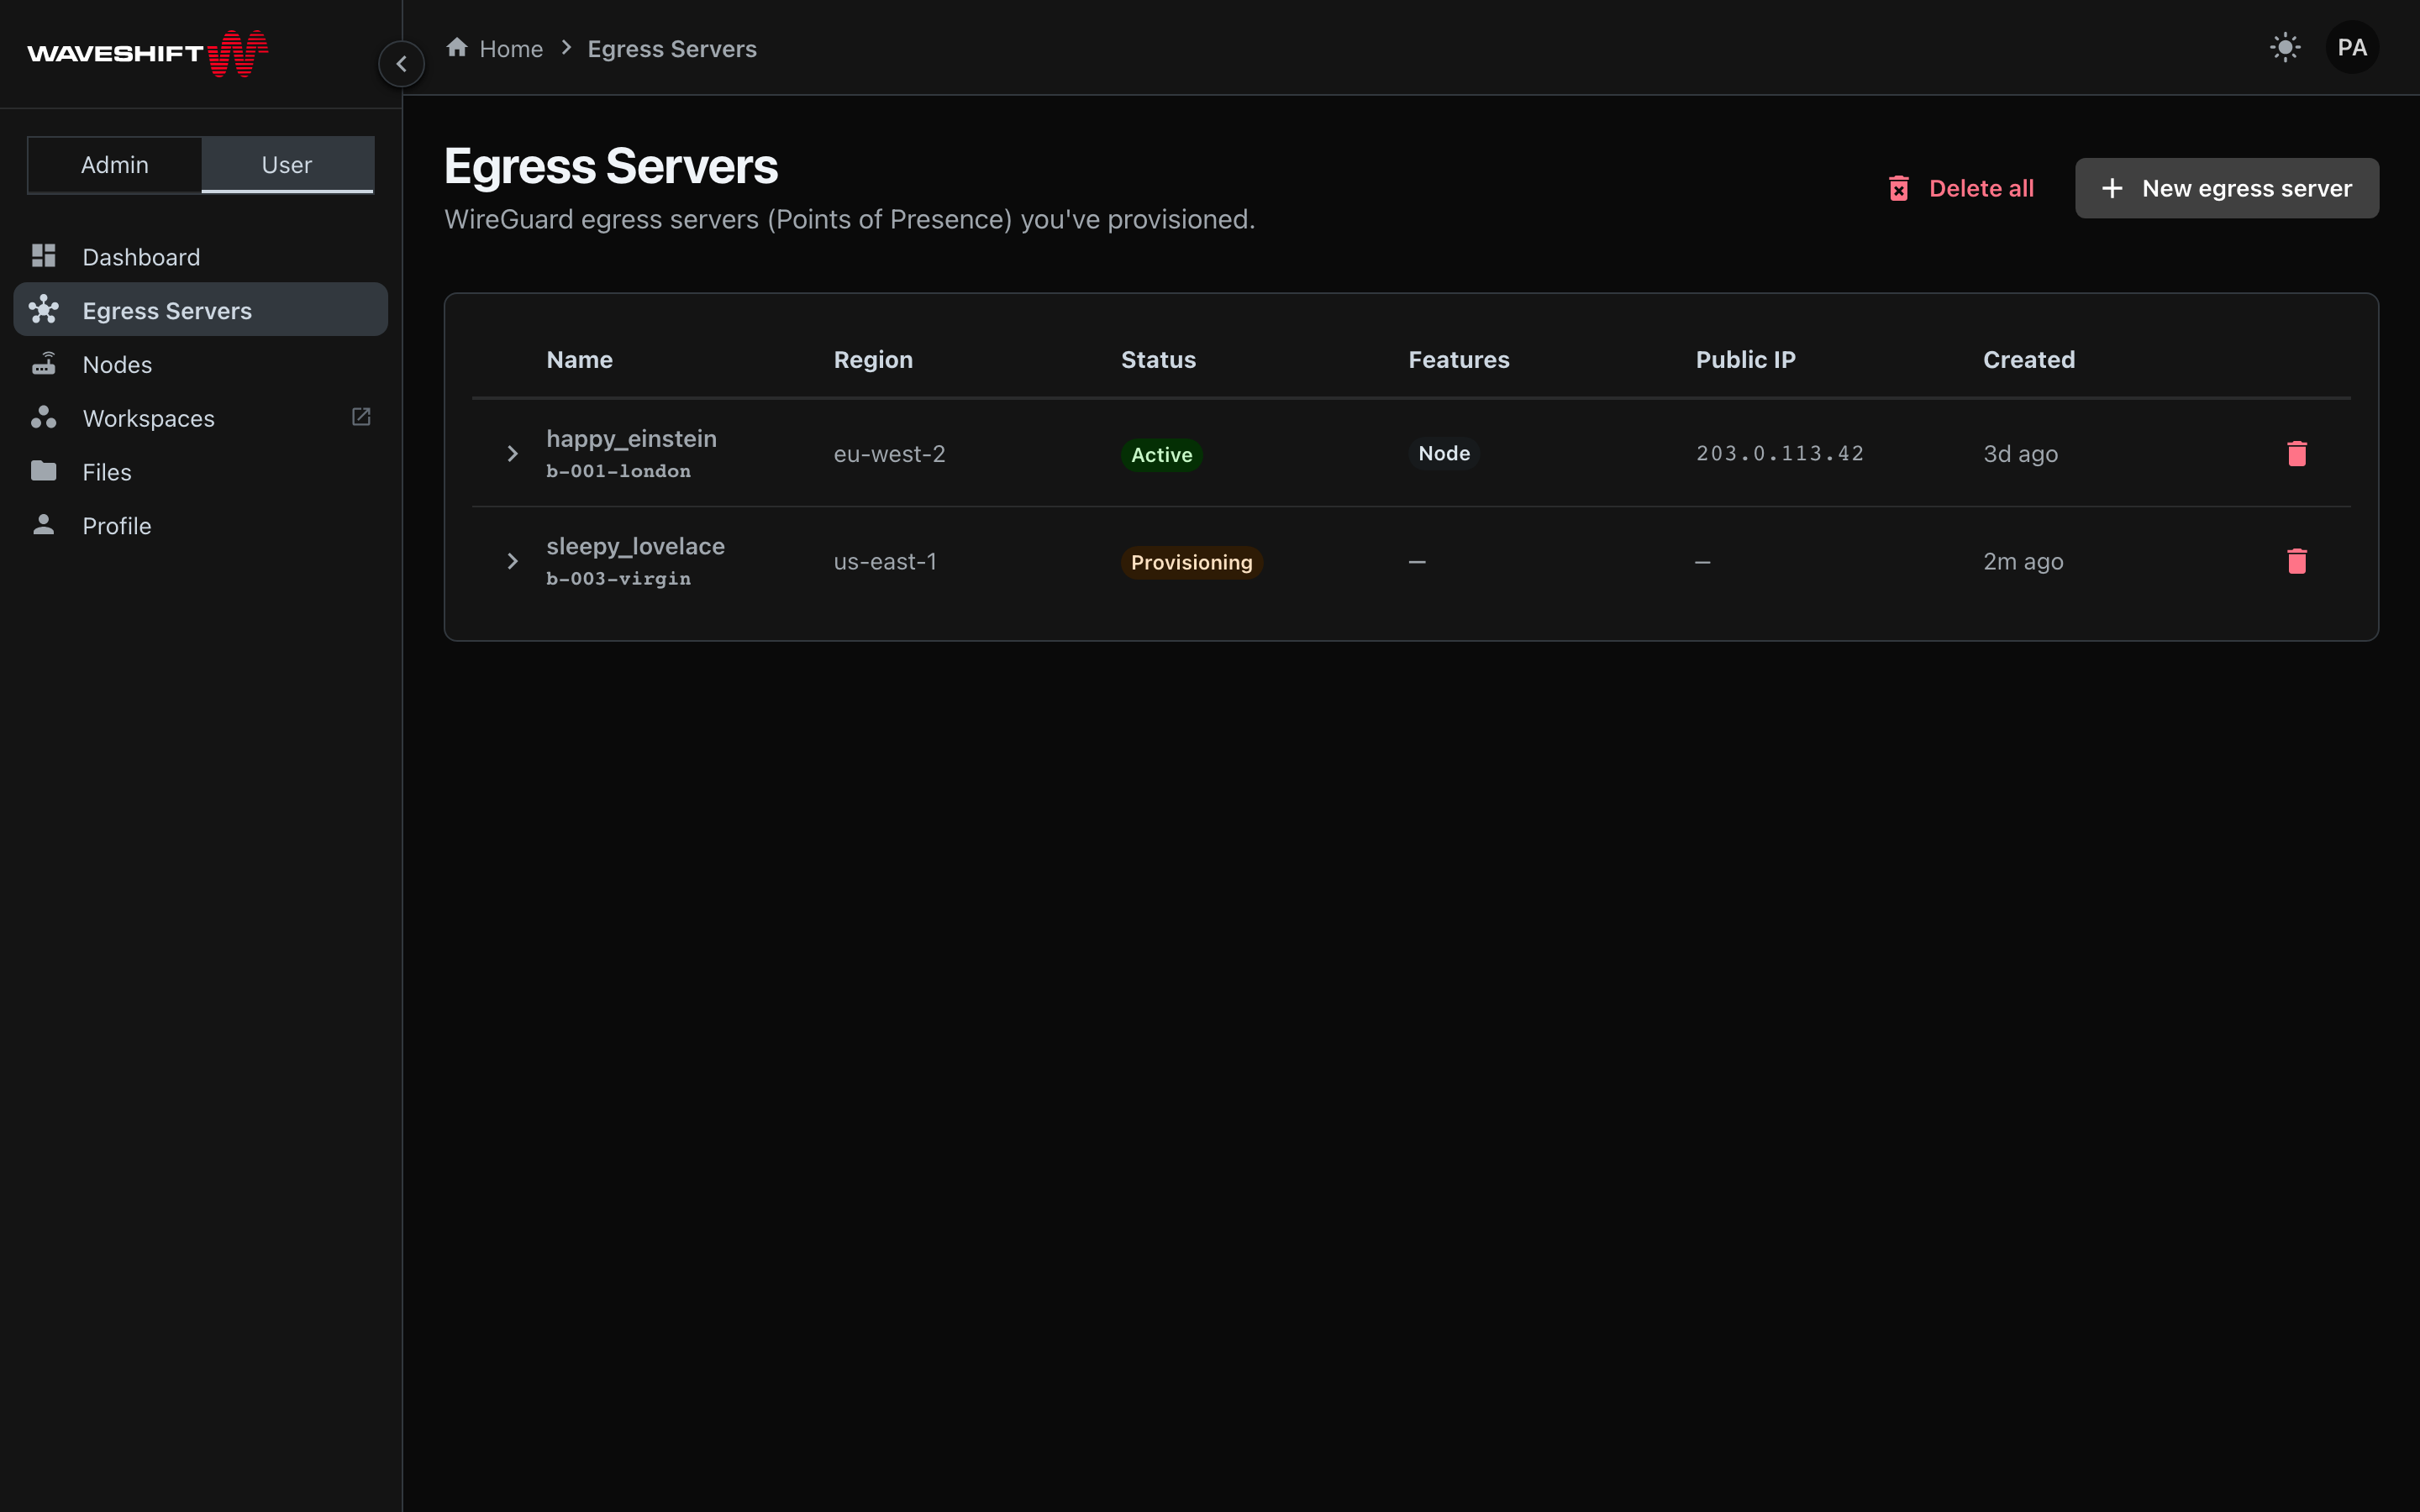
The Egress Servers page (/pops) is where you provision and manage
the WireGuard servers that act as exit points for your traffic. Each
egress server is an EC2 instance in a specific AWS region, optionally
extended with a paired router node, Kasm Workspaces, and a
Cloudflare WARP final hop.
What you see
A table listing every egress server you own. Administrators see their own here too — the org-wide view lives on the admin Egress Servers page. Each row carries:
- Name — auto-generated in the Docker
adjective_surnamestyle (e.g.happy_einstein,elegant_galileo). Not currently user-editable; the orchestrator picks one at create time. - ID — the full UUID is truncated to the first 12 characters beneath the name for quick reference
- Region — the AWS region the server runs in
- Status — a coloured chip showing the lifecycle state
(
Pending,In progress,Complete,Failed, etc. — see Provisioning lifecycle) - Features — chips indicating which optional integrations are
enabled (
Node,Kasm,Cloudflare) - Public IP — once the server has finished provisioning
- Created — relative time since creation
- A Delete button on the right
The expand chevron on the left of each row reveals the peer configurations for that server (see below).
Creating an egress server
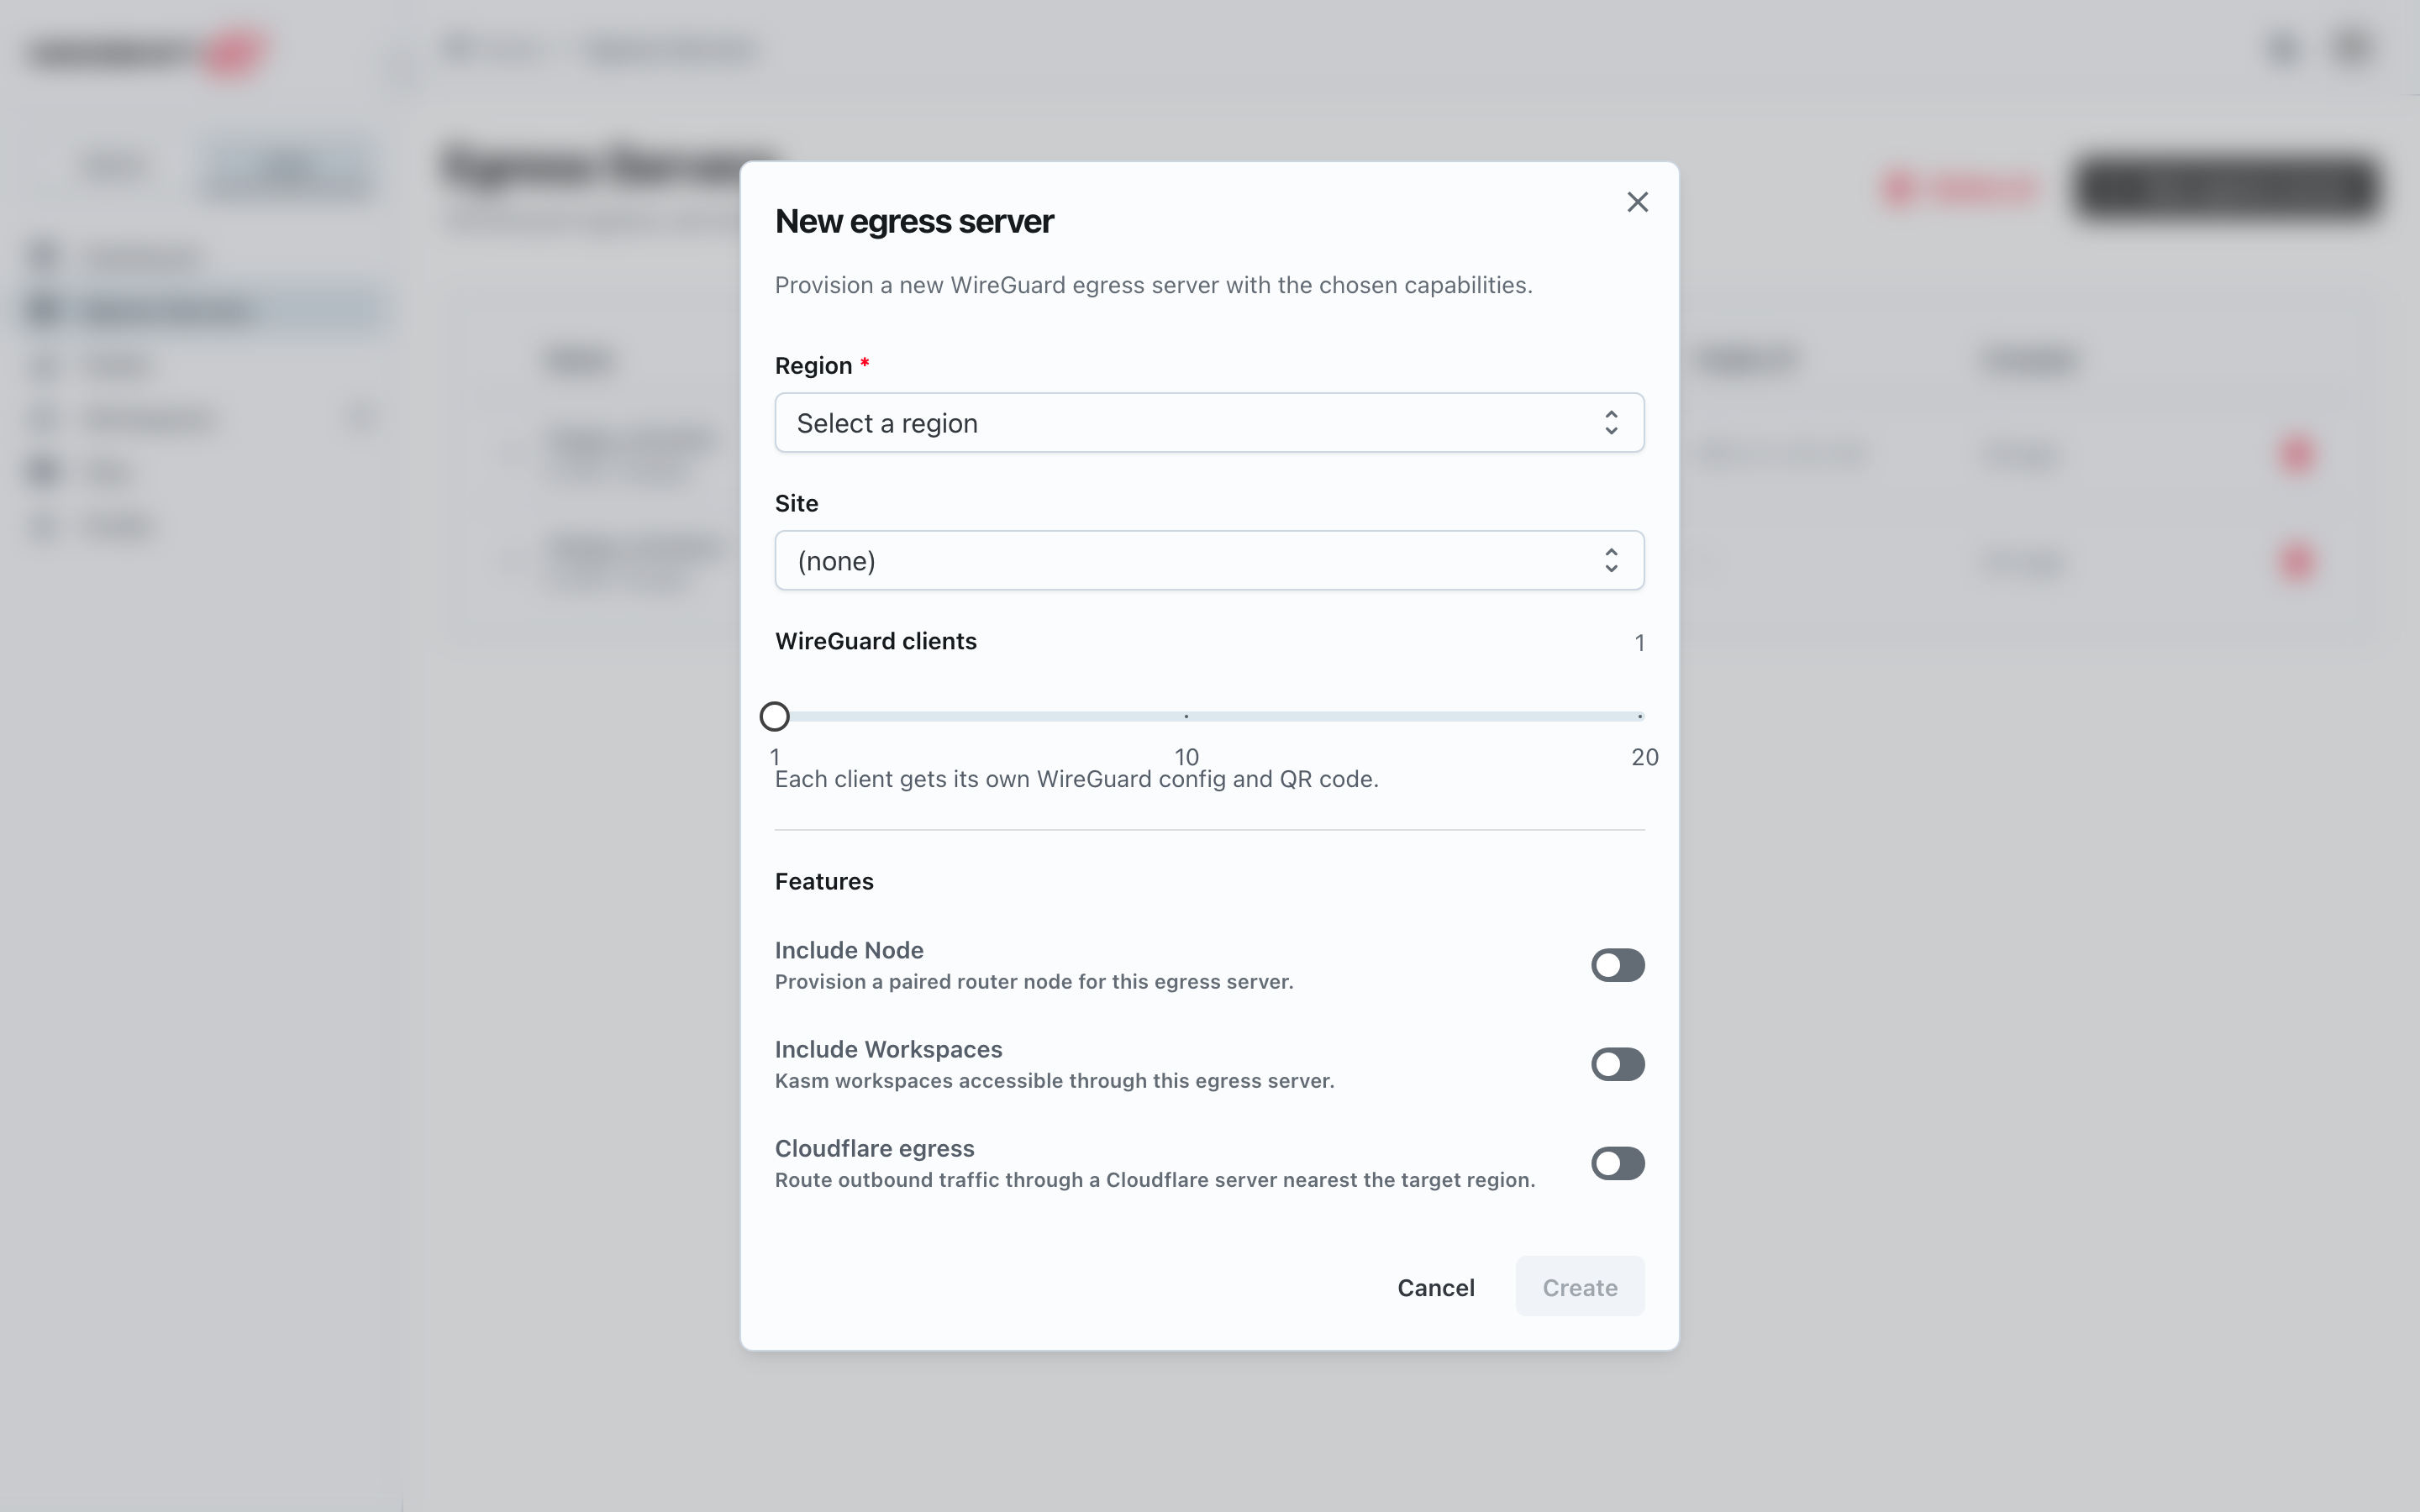
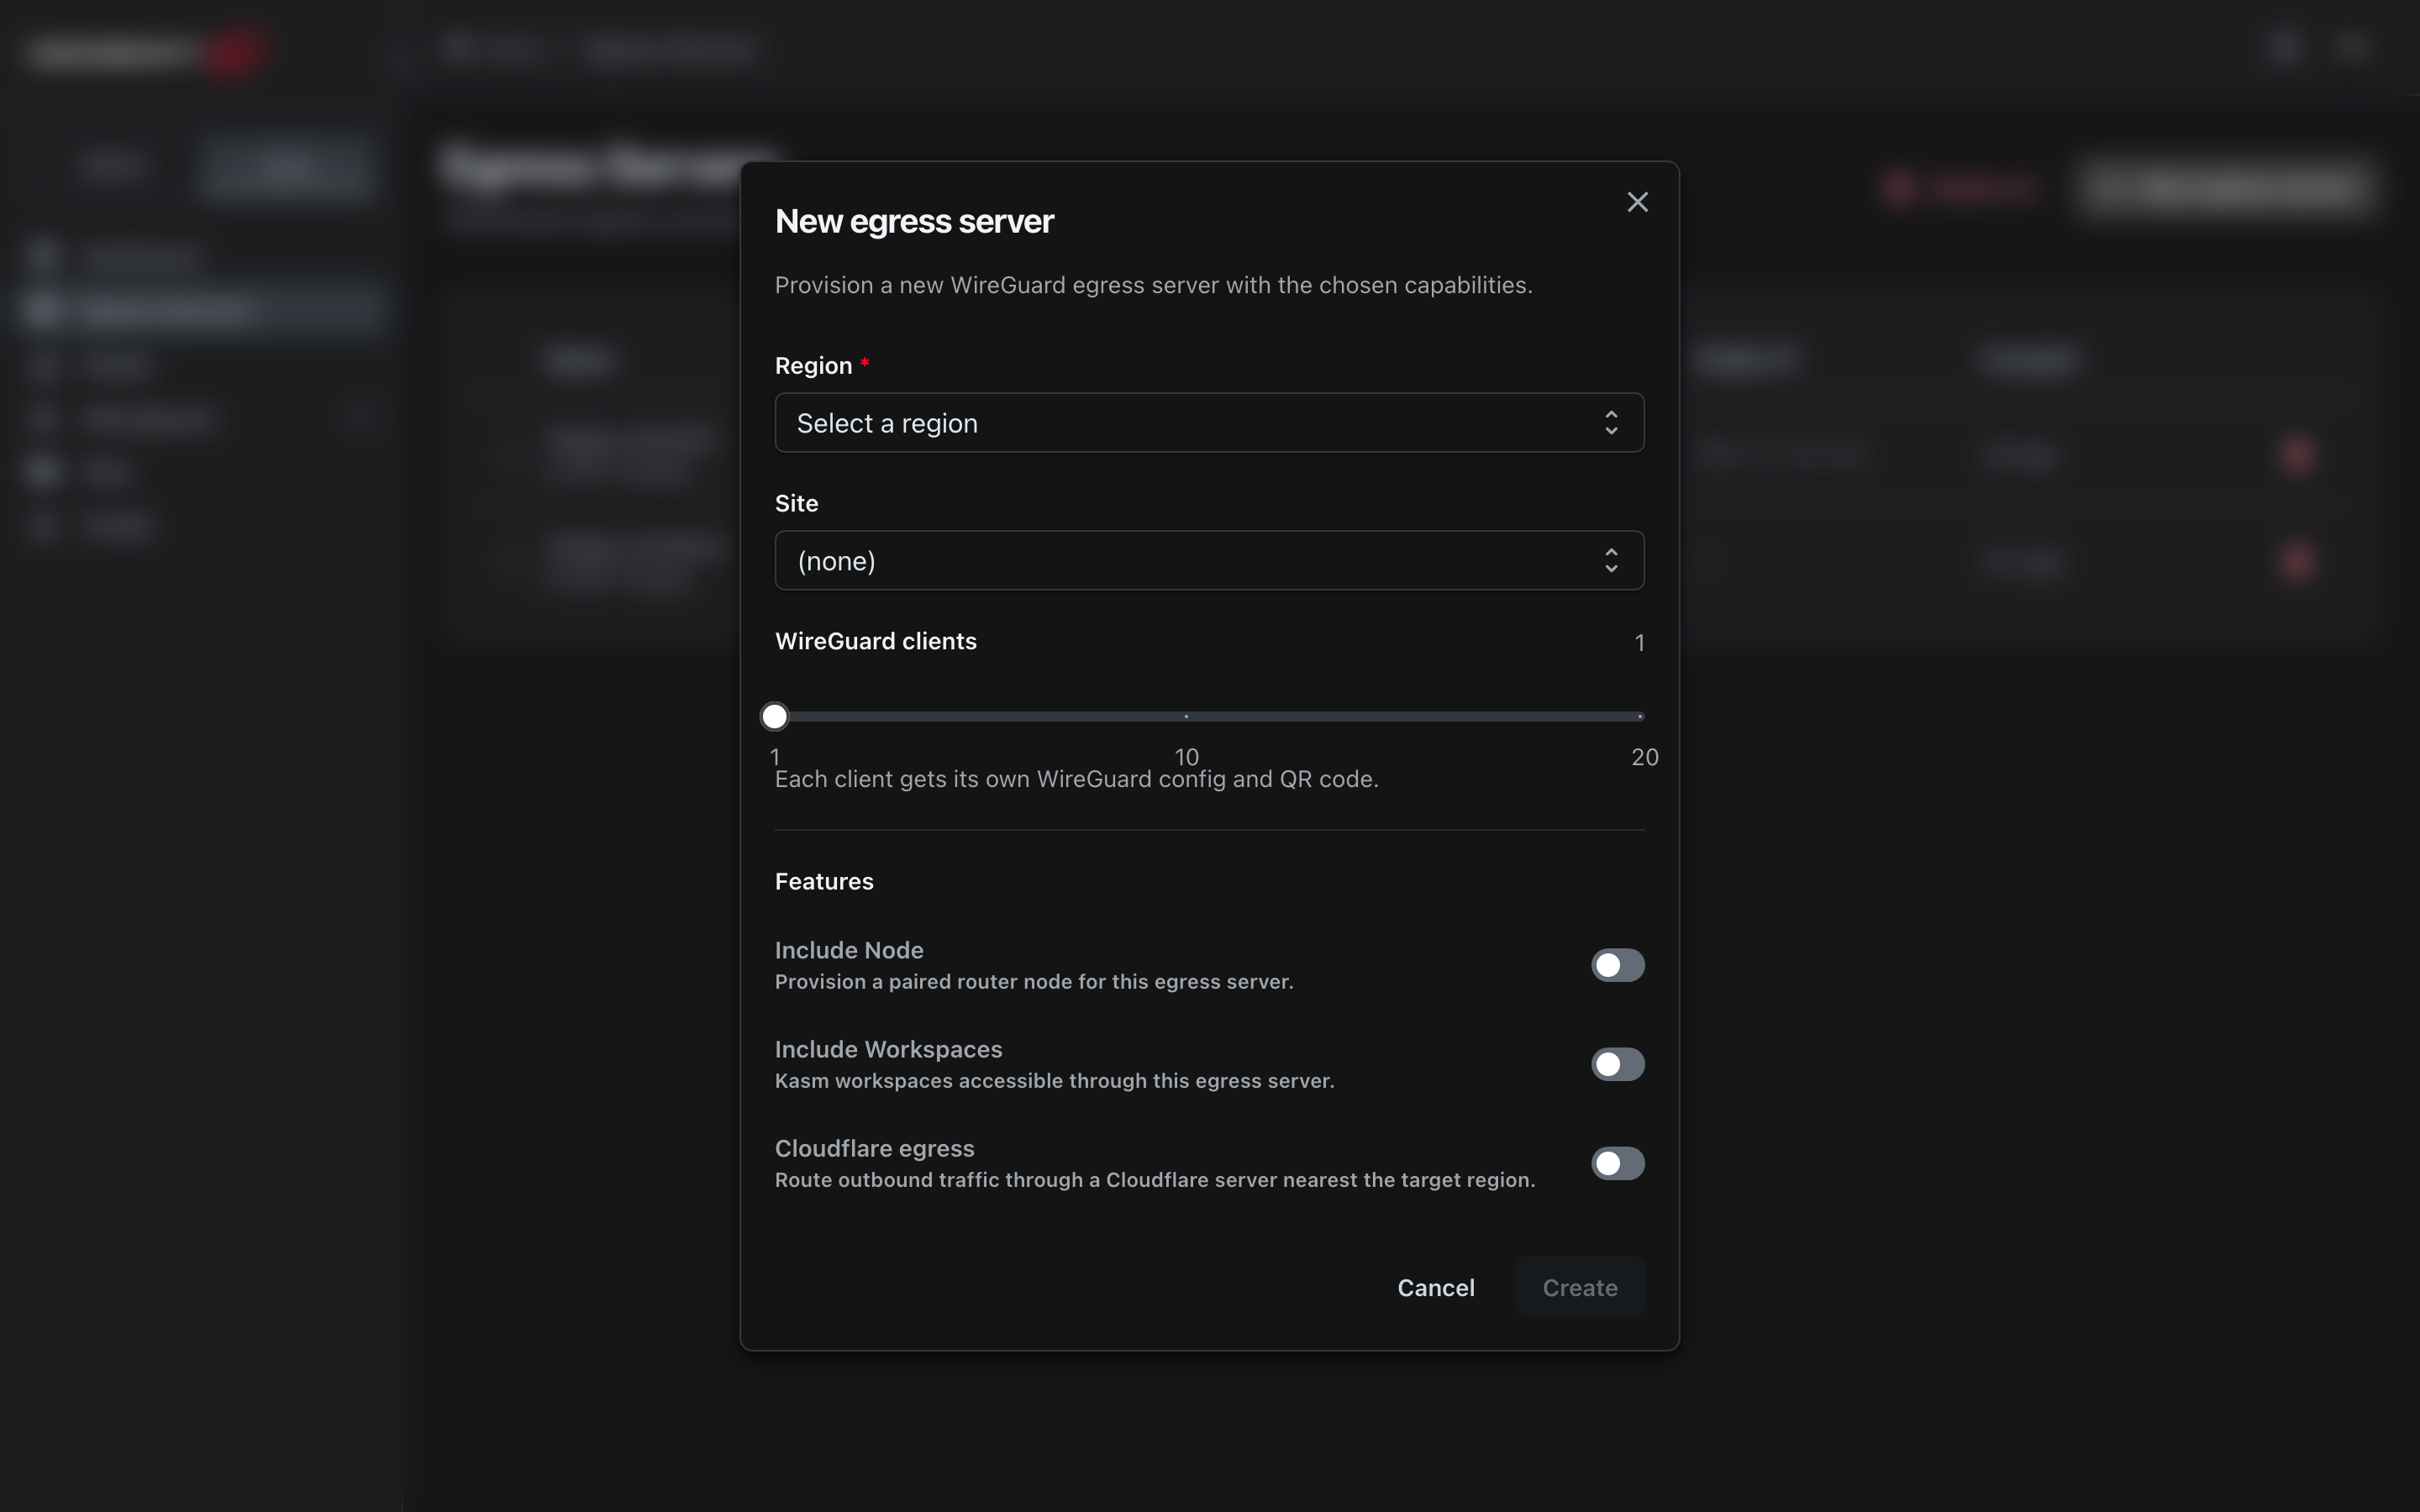
Click New egress server in the page header. The dialog asks for:
- Region — only AWS regions that an administrator has activated appear in the dropdown. If the dropdown is empty, an admin needs to enable a region first from the Infrastructure administration page.
- Site — optional; only shown if you belong to at least one
Site (admins see every Site). Defaults to
(none). The dropdown lists each Site you're a member of. The Region dropdown is not filtered by the Site you pick — it always lists every active region — so choose a region your Site allows. When Include Node is on and a Site is chosen, the paired node is taken from that Site's available nodes. (Your Kasm / Cloudflare / node-config rights aren't decided by the Site — those come from your user licences.) See Site in the glossary for the full picture. - WireGuard clients — slider, 1–20. Each client gets its own WireGuard config file and QR code for mobile setup.
- Include Node — provisions a paired router node alongside the server. The node is configured automatically.
- Include Workspaces — provisions Kasm Workspaces clients routed through this server. When enabled, a second slider sets the number of workspace clients (1–10).
- Cloudflare egress — routes outbound traffic through the Cloudflare server nearest the target region for an extra anonymisation layer.
The Create button is disabled until at least a region is
selected. Provisioning runs in the background; the server appears
in the table immediately with Pending status.
Inspecting peer configurations
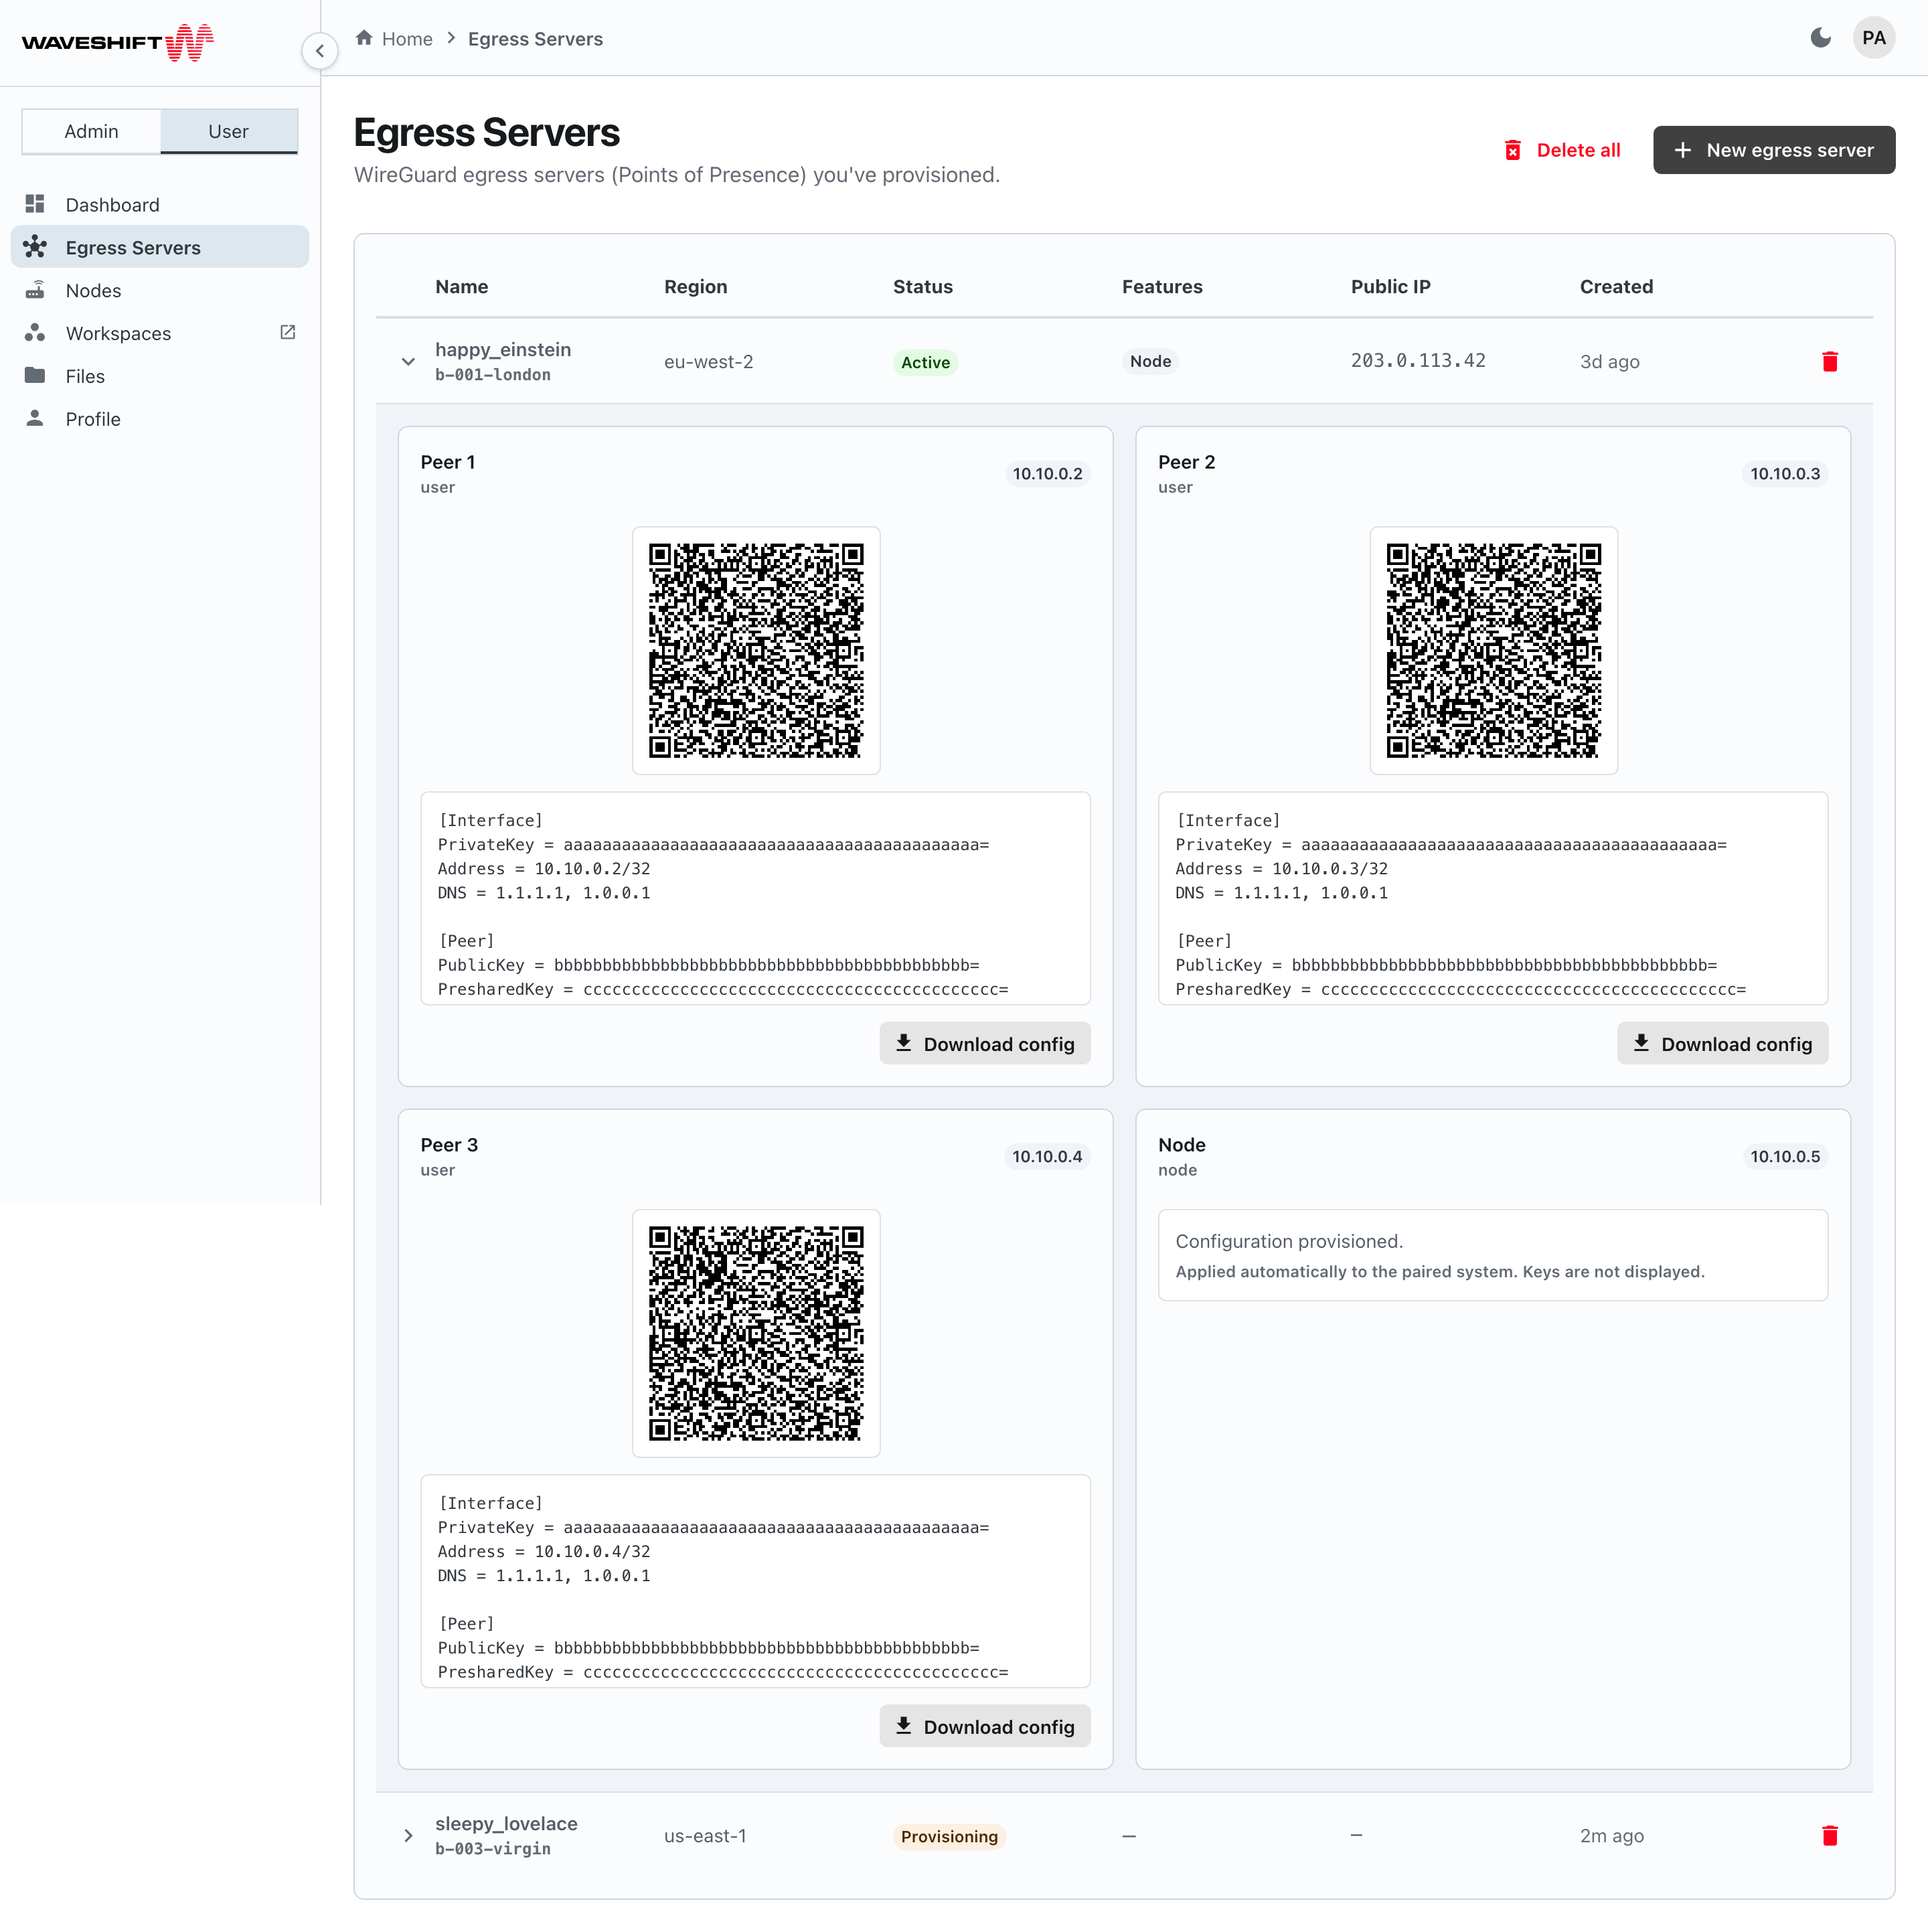
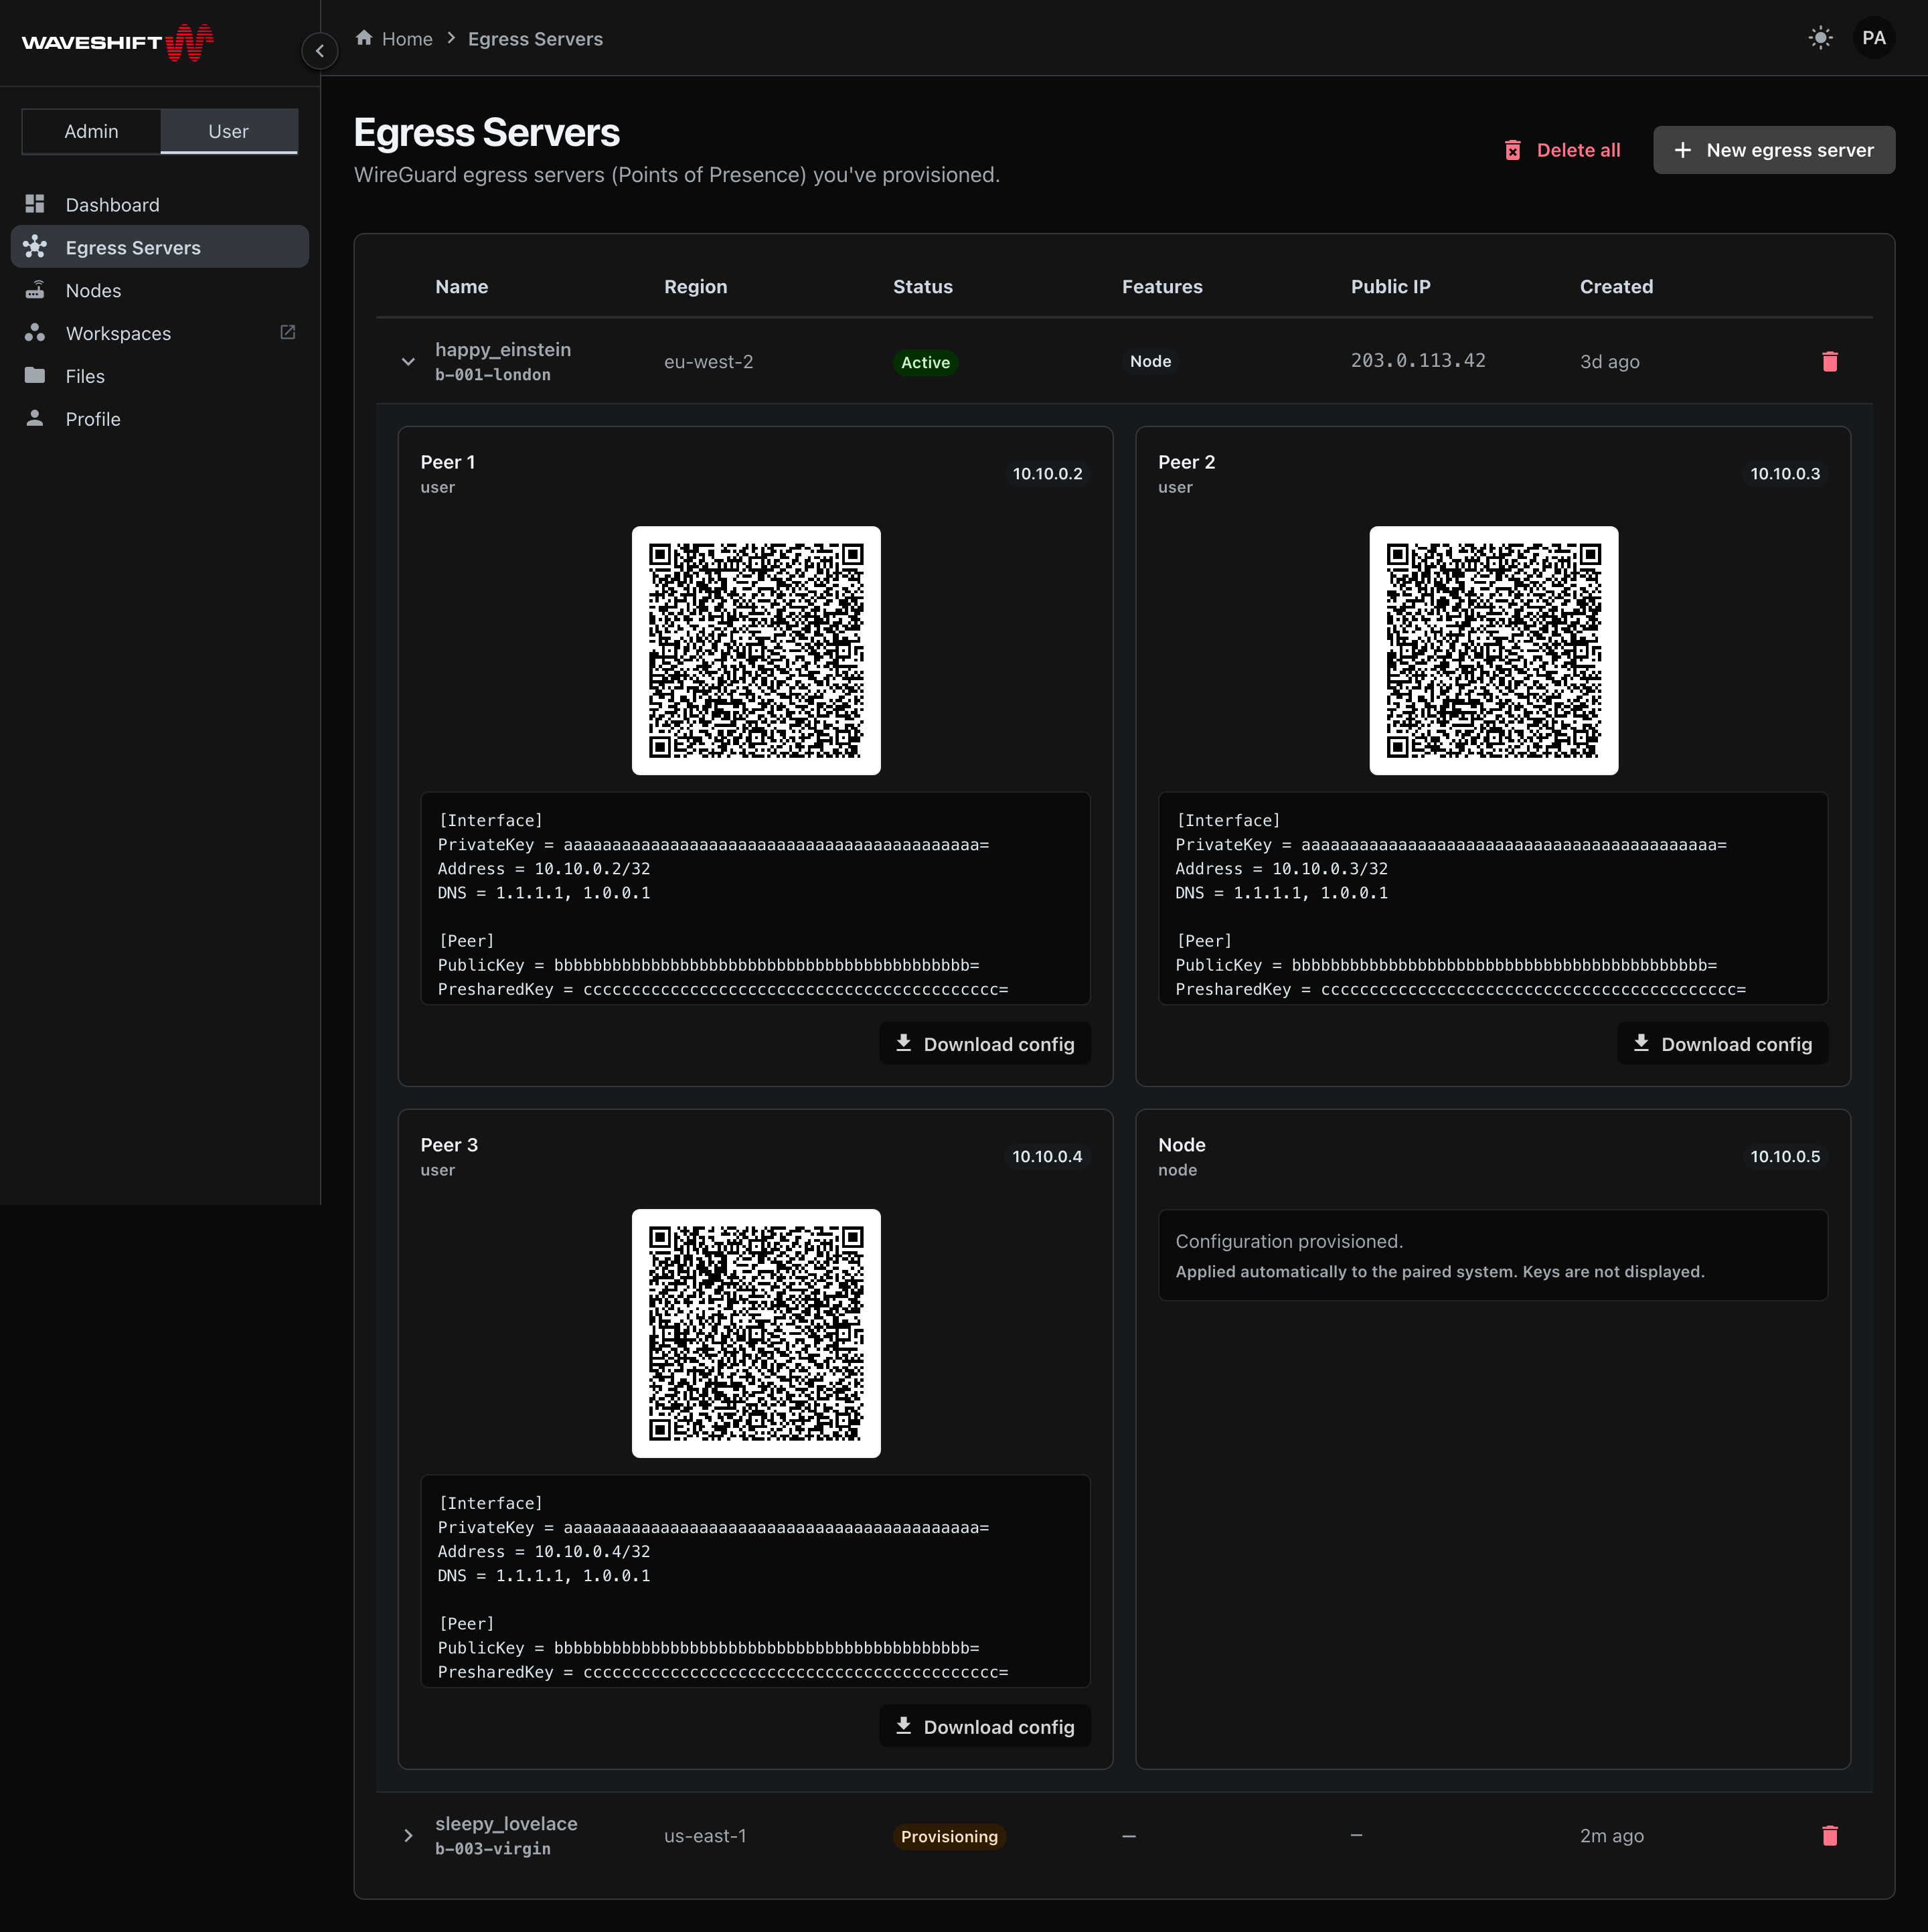
Click the chevron on a row to expand it. The expanded panel shows one card per peer. Peers fall into two categories:
User peers (WireGuard clients)
Each user peer has:
- A QR code at 160 × 160 px on a white background. Click the QR code to enlarge it to 360 × 360 px in a modal — useful for scanning from a phone a metre away or with an older camera. Pressing Enter or Space while the QR has focus does the same thing.
- The plain-text WireGuard config in a scrollable code block beneath. The config contains the private key, server endpoint, allowed IPs, and DNS settings.
- A Download config button that saves the config as
<build>-<peer>.conffor command-line WireGuard imports.
The QR code and the downloaded config are bit-identical — pick whichever fits your enrolment workflow.
Managed peers (Node, Workspaces)
Node and Workspaces peers don't show their config or QR code. The WireGuard config for these peers is provisioned automatically into the paired system (the OpenWRT node or the Kasm container), so the keys aren't meant to be scanned to a phone or copy-pasted.
You'll see a small placeholder card instead:
Configuration provisioned Applied automatically to the paired system. Keys are not displayed.
Deleting an egress server
Two options:
- Delete one — the rubbish-bin icon at the right of each row. A confirmation dialog names the server you're about to delete and asks you to confirm.
- Delete all — the Delete all button in the page header (only shown when you have at least one egress server). This tears down every egress server you own. Because the action is so destructive, it's gated behind a "type DELETE ALL to confirm" prompt rather than a normal confirm dialog.
Both deletion paths are immediate and cannot be undone — any connected peers lose access at once.
Provisioning lifecycle
A typical egress server moves through these states (shown in the Status chip with the first letter capitalised):
pending— accepted but not started yetin_progress— the orchestrator is creating the EC2 instance, configuring WireGuard, registering the node etc.complete— peers can connectfailed— something went wrong (expand the row to see the error message, shown in place of the peer cards)
Deleting a server moves it through destroying (or
destroy_failed if teardown fails) to cleaned.
Status changes don't automatically refresh the page — reload it if you want the latest. Admins can also see a per-status breakdown on the admin dashboard, which is likewise loaded when the page opens.